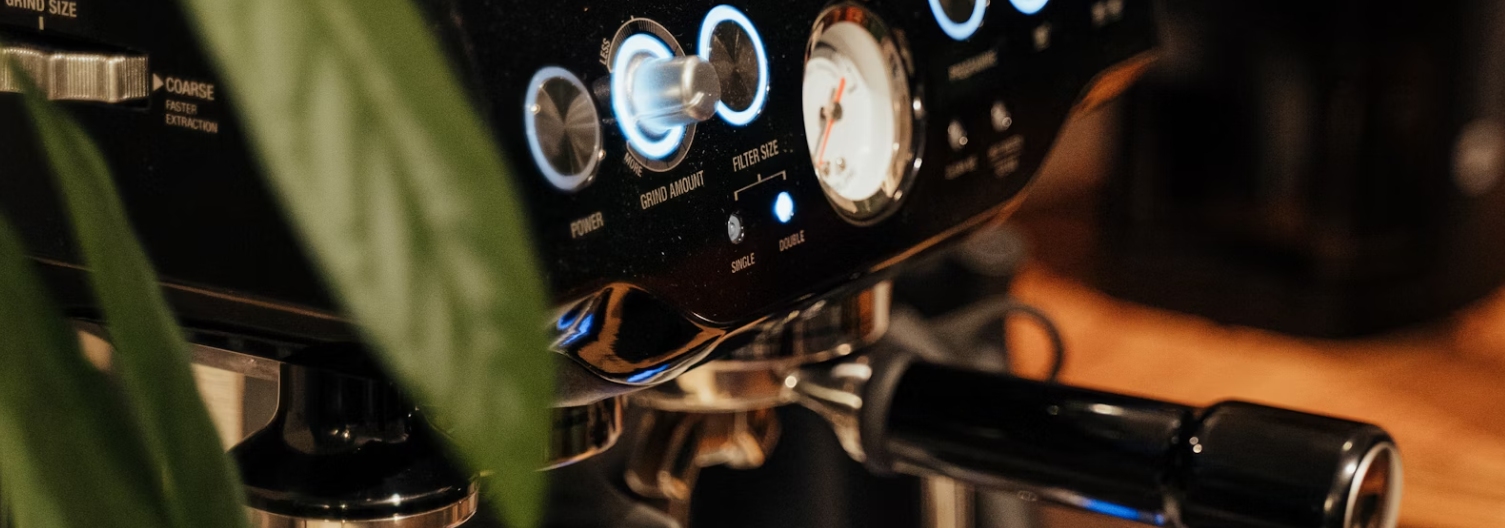
Is your morning cup of espresso disrupted by a sluggish pressure gauge?
There’s no need to panic just yet – there are ways to get that needle moving again.
In this post, I’ll go over why your Breville pressure gauge is not working and show you what needs to be done to fix it.
There are a couple of reasons why your Breville’s pressure gauge might not be functioning.
Check Out: Compact Italian Espresso Coffee Maker
Here are the most common culprits:

The most obvious reason is that your pressure gauge is broken.
Over time, being exposed to lots of heat, pressure changes, and just regular wear and tear can cause the gauge to malfunction or break down.
If parts like the bourdon tube or diaphragm inside it get damaged, the gauge won’t show the pressure right anymore.
If this is the case, the best solution is to have the pressure gauge replaced.
Espresso machines rely on a series of seals and gaskets to maintain proper pressure.
These parts are usually made of rubber or silicone and can wear out over time.
Things like limescale buildup, coffee oils, and the machine heating up and cooling down can make them brittle, crack, or not seal properly.
When that happens, the machine might lose pressure, and the gauge might not show the right readings or the machine might not build up enough pressure to make your espresso.
The next potential cause is blockages.
If you are using tap water, minerals like limescale and calcium can build up inside the water pipes over time.
These can block the water flow, making the pressure going into the brewing chamber lower.
Also Read: 58mm Vs 58.5mm Tamper
So, your pressure gauge might show lower readings than you’d expect, or it might jump around because the machine’s having a hard time keeping the pressure right.
Blocked water pipes can also mess up how your coffee tastes and could even harm the inside of your machine if you don’t deal with it.
Sometimes airlocks, or little air bubbles can form within the hydraulic pathway of your Breville.

These bubbles mess with how the pressure moves around, so your pressure gauge might not give you accurate readings.
This can happen because of:
When you’ve got air bubbles, the pressure gauge might jump around or not show any pressure at all, even if everything else seems fine with the machine.
Before taking your machine to a repair shop, try doing these:
Inspect the connections between the pressure gauge and the machine, including the capillary tube leading to the gauge.
Make sure that all connections are secure and free from debris or obstructions.
Performing a backflush can clear blockages and restore proper pressure gauge functionality.
Follow the manufacturer’s instructions for backflushing your specific model.
With the machine at full pressure and temperature, power it down and unplug it.
Then, gently tap or jolt the pressure gauge to dislodge any potential obstructions within the gauge or the capillary tube.
Try opening and closing the hydraulic pathway rapidly a few times, with and without the filter basket in place, to release any trapped air.
You can also try taking the pressure gauge off the espresso machine and cleaning it using running water from your kitchen sink, and perhaps squirting water into it using a syringe.
Watch this YouTube video to have a clearer idea how you can do this.
Note: This requires some degree of dismantling your Breville and can possibly void the warranty, so do it at your own risk.
If none of these resolve the issue, as in case of the pressure gauge being shot completely and in need of replacement, it’s advisable to take it to a repair shop.
Check Out: Compact High-Pressure Espresso Coffee Machine with Steam
If you still have warranty, call Breville.
Attempting to disassemble the machine yourself could void any active warranty and potentially cause further damage.
If your Breville espresso machine’s pressure gauge is not working, it can be due to a broken seal or gasket, clogged waterline, or air bubbles trapped in the hydraulic pathway.
It’s also possible that the gauge is broken and has to be replaced.
So try checking the connections for any blockage, tapping the gauge gently, performing a backflush, and releasing any air bubbles.
If these steps don’t fix the issue, or the gauge needs to be replaced, you need to take it to a licensed technician.


Leave a comment