-
Shop
- Furniture
- Kitchen
- Bathroom
- Home & Garden

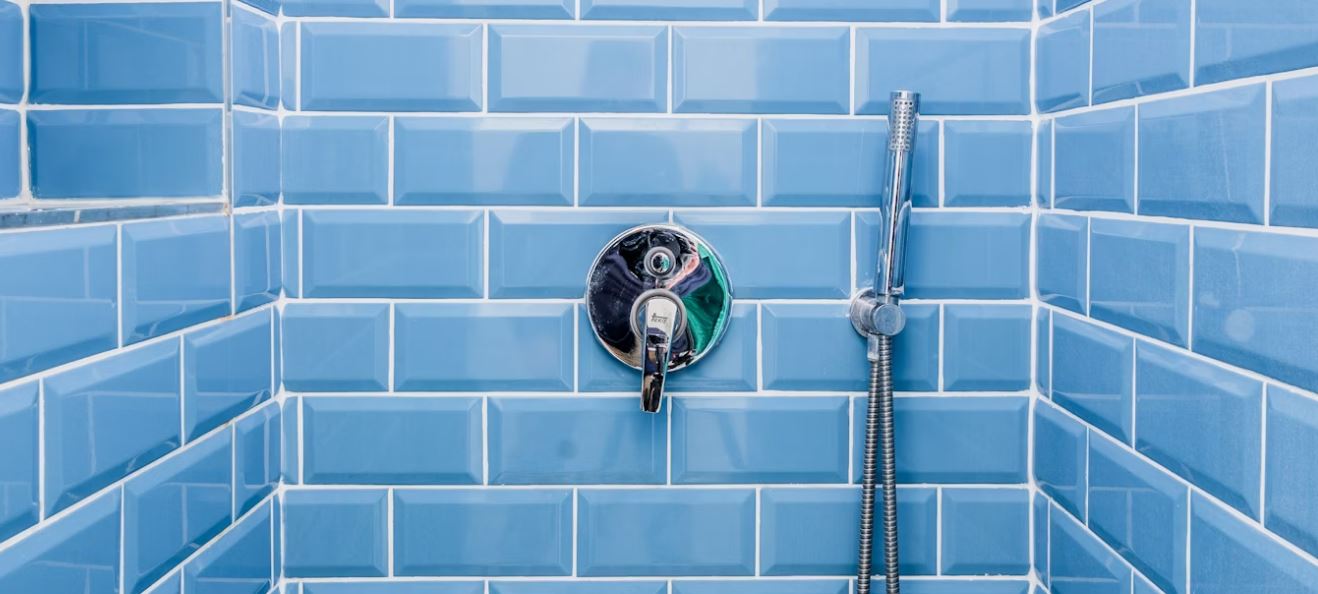
Having a gorgeous new tiled shower can really make you proud, but if the valve sticks out too much, it just messes up the entire design and looks bad.
Believe it or not, this issue is more common than you might think.
Now the good news is that you can fix this.
In this post, I’ll show you a cheap DIY solution to push a shower valve that sticks out so far without damaging the tiles.
The reason why your shower valve sticks out is because it wasn’t installed correctly.
Also Read: Is 1 2 Pex Big Enough For Shower
But can this happen if the plumber followed the manufacturer’s instructions to the letter?
Yes, because these instructions do not account for the specific tile depth or wall conditions in your bathroom. It’s just a general guide.

As a result, the valve can end up sticking out an inch or more from the finished tile surface.
When customers complain about the issue, manufacturers often try to avoid taking blame.
Instead of fixing the real problem, they offer solutions that just hide it.
The most common recommendation is to use a trim ring or extension piece that goes behind the valve plate.
These are basically fancy covers meant to make it look like the valve is flush with the wall by filling in the space between the valve and the tiles.
Although this might seem like an easy solution, it usually falls short in terms of looks.
Those trim rings and extensions can be bulky and clash with a modern, stylish shower setup. They mess up the neat, smooth look that people want in their bathroom upgrades.
And on top of that, these fixes often mean more money out of your pocket.
Manufacturers treat these trim pieces as extra add-ons, making you buy them separately – and sometimes, they’re not cheap either.
Fortunately, there’s a better DIY solution which I’ll talk about next.
Also Read: Shower Won’t Turn Off After Replacing Cartridge
Instead of going for the ugly trim ring or shelling out for redoing your tiles, there’s a DIY fix that won’t wreck your lovely tile job.
You can cut into the wall behind the valve and move it back to where you want it.
Let me explain this, step by step:
Let’s start by clearing out any excess mortar or concrete behind the valve.
Take a flathead screwdriver and carefully pry out any mortar or concrete that might be behind the valve plate.
This will give us more space to work with when pushing the valve back into the wall.
Next, we need to carefully cut the wall stud using a hacksaw. Take your time with this step.
You can use either a hacksaw or a specialized jab saw for this.
Make slow, meticulous cuts on either side of the valve. Remember to angle the cuts away from any pipes to prevent accidental damage!
As you get to the bottom of the cut, adjust the angle to match the curvature of the valve opening.
Also Check Out: Luxury LED Thermostatic Rain Shower System
Now, it’s time to support the valve and push it back into its desired position.
Before making the final cuts, place thin pieces of wood underneath the valve to support it.

Then, use a larger piece of wood to gently push the valve back into place.
After pushing the valve back, we’ll need to shim and secure it in the new position.
Cut shims of various thicknesses from thin plywood or a similar material, and apply construction adhesive or liquid nails to these shims.
Then wedge them into the gaps created by the stud cuts. This ensures a secure fit.
Reinstall the valve plate to help clamp everything in position as the adhesive dries.
Here are some tips that you might wanna consider, if you re going to do it:


Leave a comment