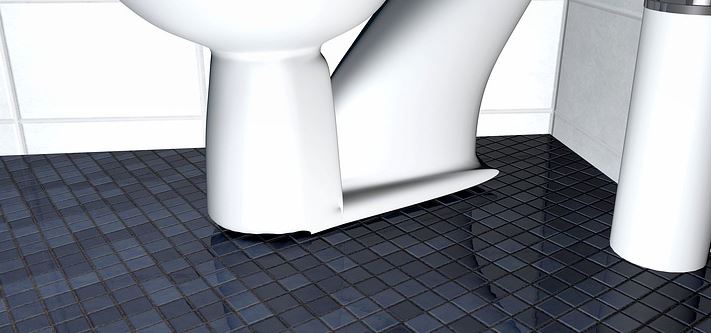
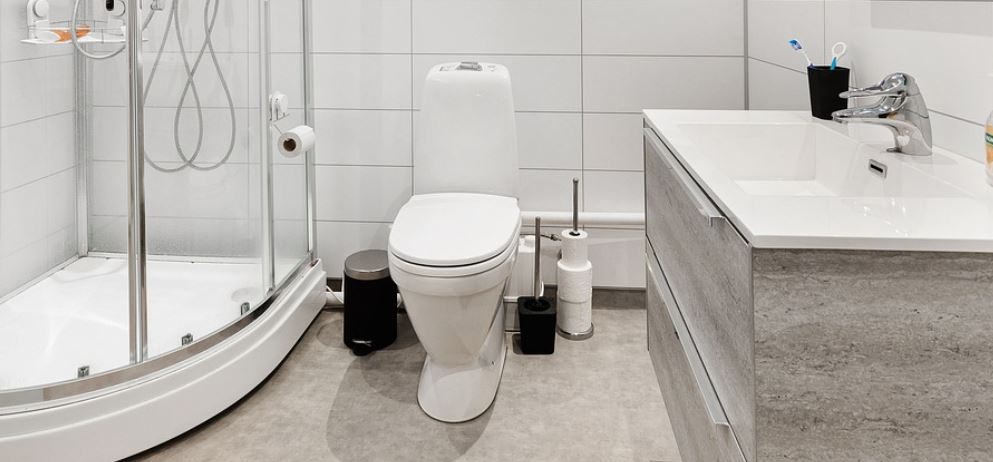
If you’ve noticed a large gap around the base of your toilet and floor, you need to fix it ASAP.
Not only does it look ugly, but it can also lead to some potentially serious problems. It can even cause cracks in the toilet.
You might be able to DIY it – but I don’t recommend it if you are going to level the toilet.
In this how-to guide, I’ll show you how to fix a large gap between toilet and floor.
Use a ruler to measure the gap between the toilet base and the floor at its widest point. A small gap (less than 1/4 inch) is usually acceptable.
Try rocking the toilet gently to see if it moves.
Also Read: Toilet Flange Not Level
A stable toilet, even with a slight gap, might not require immediate fixing.
If the toilet is stable, and the gap is less than 1/4 inches, you can simply caulk the gap with silicone caulk specifically designed for bathroom use.
This will prevent water from entering the gap and potentially causing damage.
Here’s how to do it:
FYI, if the toilet is a bit unstable, you can use grout instead.
You can also use toilet gaskets. These are rubber or foam rings that can be placed between the toilet and the floor to help fill in the gap.
If the gap is larger than 1/4 inch or the toilet is unstable, you need to level the toilet.
Also Read: Toilet Flange 1/2 Above Floor
Here’s how to do it:
Turn off the water supply to the toilet and flush to empty the tank. You can use a plunger to remove any remaining water from the bowl.
Locate and remove the bolts securing the toilet to the floor.
Before removing the toilet, place shims around the commode to level it. Make sure it is stable and does not wobble.
You can use a level to check for evenness.
Now carefully lift the toilet straight up and off the floor without disturbing the shims.
Check the flange and surrounding area for any damage or debris. You can clean the area thoroughly to ensure a proper seal with the new wax ring.
Since removing the toilet breaks the wax ring seal, you have to replace it with a new one.
Place the new wax ring on the flange, making sure it’s centered and seated properly.
Next, apply epoxy mortar around the perimeter of the flange where the toilet will sit. Again – don’t disturb the shims.
Once the epoxy mortar becomes tacky, lay a piece of wax paper over the mortar. This prevents the mortar from sticking to the toilet while allowing it to set.
Also Check Out: Compact Pulse Smart Electric Toilet with Dual-Flush Technology
Carefully lower the toilet back onto the flange, and make sure it sits evenly on the shims and over the mortar. Press down gently to secure it in place.
Insert and tighten the bolts through the toilet base and into the flange
As you tighten the bolts, some epoxy mortar may squeeze out from beneath the toilet. You can use a damp cloth to wipe this away.
Let the epoxy mortar dry completely.
Once the mortar is dry, apply a bead of caulk around the bottom rim of the toilet to create a waterproof seal.
After that, turn the water supply back on and flush the toilet to check for leaks.
Also check the area around the base of the toilet for any signs of water leakage.


Leave a comment