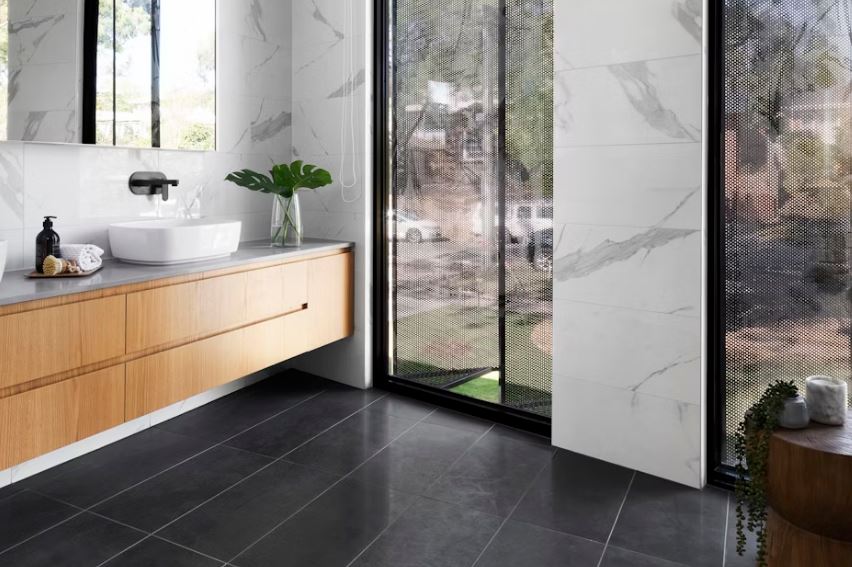
Does that annoying gap between your vanity and the wall drive you crazy?
Not only is it an eyesore, but it can also become a breeding ground for moisture and grime.
But don’t worry, I’m here to help!
In this post, I’ll show you 5 different ways to fill the gap between vanity and wall.
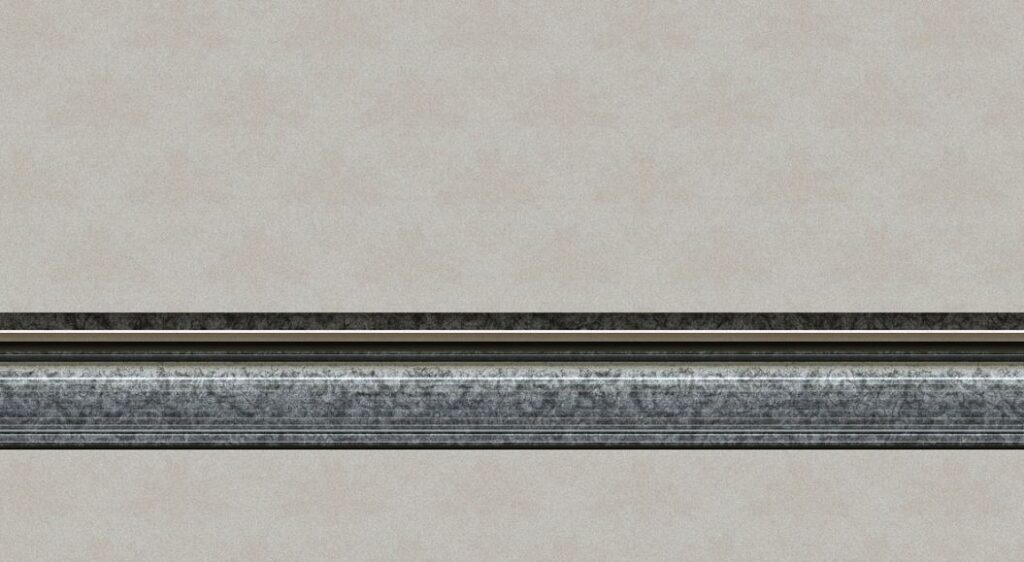
One of the most straightforward solutions is to use trim or molding pieces to fill those gaps.
These can be made from materials like PVC or wood and can be installed along the top and sides of the vanity. This will effectively fill the gap between the vanity and the wall.
Also Read: New vanity does not fit plumbing
For an added touch of the design, you can cut the trim at an angle by creating a slide or ramp that allows any fallen items to easily slide out from the gap, rather than getting trapped.
You can attach these trim pieces in various methods – nailing, screwing, or using a heavy-duty glue.
Just be sure to follow the manufacturer’s instructions and take the necessary precautions to ensure a secure and long-lasting installation.
If you’re dealing with smaller gaps, caulking and sealants can be an effective and budget-friendly solution.
Silicone or bathroom-specific caulks are good options as they offer excellent waterproof properties and resistance to mold growth.
Now, if you’re dealing with larger gaps, it’s recommended to first apply a backer rod or foam filler before caulking.
This not only helps to minimize the amount of caulk that is required but also it provides a stable base for the caulk to withhold.
Doing a clean, professional-looking caulk finish can be a bit tricky though.
Also Check Out Our: Lux-Illuminate RGB LED Bathroom Mirror
Start by masking off the surrounding areas to prevent any unwanted debris. When applying the caulk, use a caulk gun and work in small sections by smoothing the bead with a caulk tool.
Also consider using a damp grout sponge to create a rounded and polished look.
If you’re looking for a more permanent and visually attractive solution, consider extending your room’s tiled backsplash to cover the gap between the vanity and the wall.
This method not only hides the gap but also adds a touch of elegance and attractiveness to the overall design.
The first step in this process is to carefully select the tiles that matches the existing room design. So, make sure that a good transition between the new and old tiles have a great blend.
Remember that, matching the existing color is a MUST.
Once you’ve got your materials, follow a step-by-step guide to properly tile the gap area.
This basically means preparing the surface, applying a suitable glue, and perfectly laying the tiles in a pattern that blends with the existing design.
And don’t forget to follow proper sealing techniques to ensure the longevity and water resistance of your new tiled area.
If you’re looking for a customized solution, framing and drywall can be used to create a built-in look that touches the vanity into the surrounding walls.
This method involves constructing a frame around the gap area and then covering it with a drywall.
But here’s where it gets really exciting – within this newly constructed space, you can get creative by adding built-in storage solutions or shelving units by transforming that once-problematic gap into a functional and visually appealing feature.
And the best part is that you can choose finishing touches like paint to match the existing room design by ensuring a cool design.
Now, if you’re looking for a more temporary or budget-friendly solution, there are several quick and easy fixes that can help to hide the appearance of the gap.
One option is to use caulk tape or rope caulk, which can be easily applied and removed as needed.
These products are designed to create a flexible, waterproof seal and can be a great short-term solution until you’re ready to plan a more permanent fix.
Also Check Out Our: Chic Modern Makeup Vanity Table with LED Mirror
Another option is to paint wood fillers to match the vanity or the wall color by creating a simple aesthetic upgrade that blends the gap area with the surrounding surfaces.
So there you have it! With a little effort and the right approach, you can banish that unsightly gap between your vanity and wall for good.
When deciding on the best solution, consider on some factors like the size of the gap, your DIY capabilities, the needed level of design, and the overall aesthetic that you wish to achieve.


Leave a comment